If you’re anything like us, you have plenty of boxes lying around. I mean – all those online orders create a constant flow of cardboard into our home! Even if you don’t, it only takes a couple of weeks to stockpile some. We like to use them for easy craft and play activities before throwing them into the recycling bin. Here are some simple ideas that don’t need anything else but stuff you have lying around the house.
1. A carwash for your kids’ cars
Promise there’s no water involved! To make this carwash you simply cut two holes in the side of a box. One for in, one for out. Cover some toilet rolls in paper or felt and glue them onto a cardboard circle the same diameter of the roll. Now attach that circle to the bottom of the box with a paper fastener. That way the rolls can move around. We also added an old brush to the side of the box. And some felt covered chopsticks to get the cars extra clean!
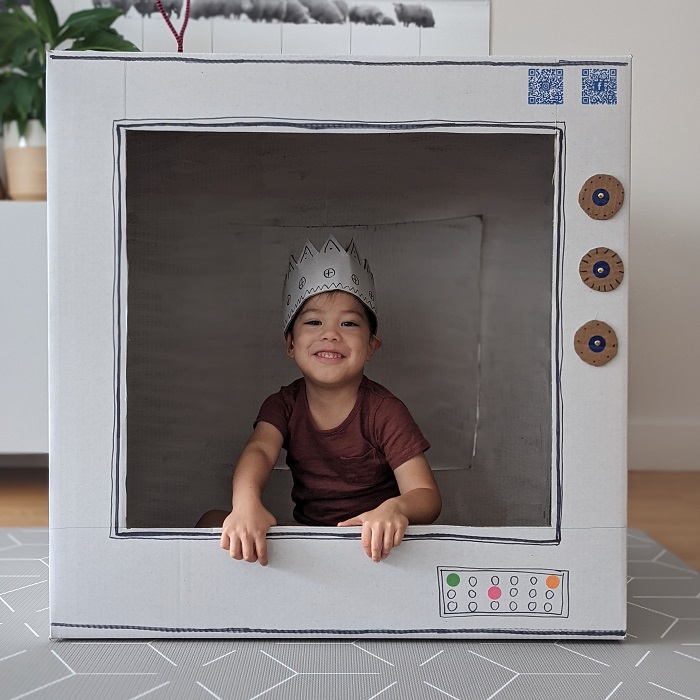
2. A tv for all types of glorious shows
Do you have a big box? And a child with a big personality? This one is for you! Simply cut a large hole in one side of the box. Add some buttons with cardboard circles and paper fasteners. (yes – it’s an old-school tv, one with actual buttons!This doubles as a history lesson!) If you want to be super fancy you can even make a remote by gluing some buttons onto a smaller box. It takes 10 minutes to make, and then it’s time to sit down with a coffee or wine and watch the ‘show’!
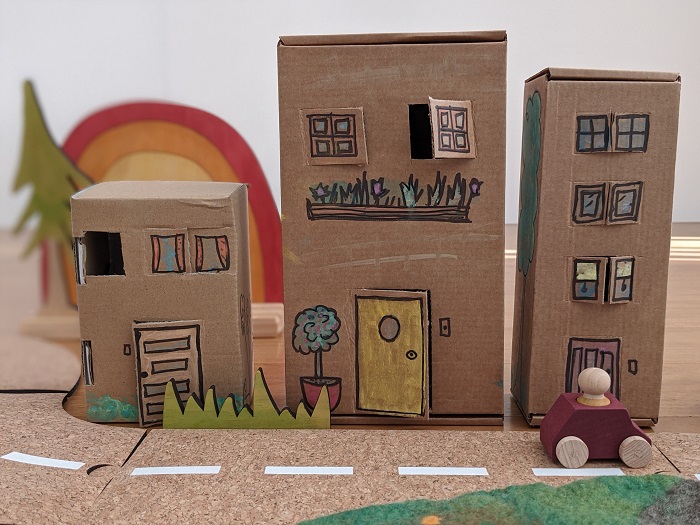
3. A town for endless small world fun
All those small little boxes that for some reason haven’t been thrown out are perfect to create a little town of buildings and houses. You can build a hospital, police station, homes and more! Draw some windows and cut a door. Draw some greenery for extra cuteness and you’re all set to go! Add some little figurines that can move into your town to enhance play. But just some little cars will do as well.
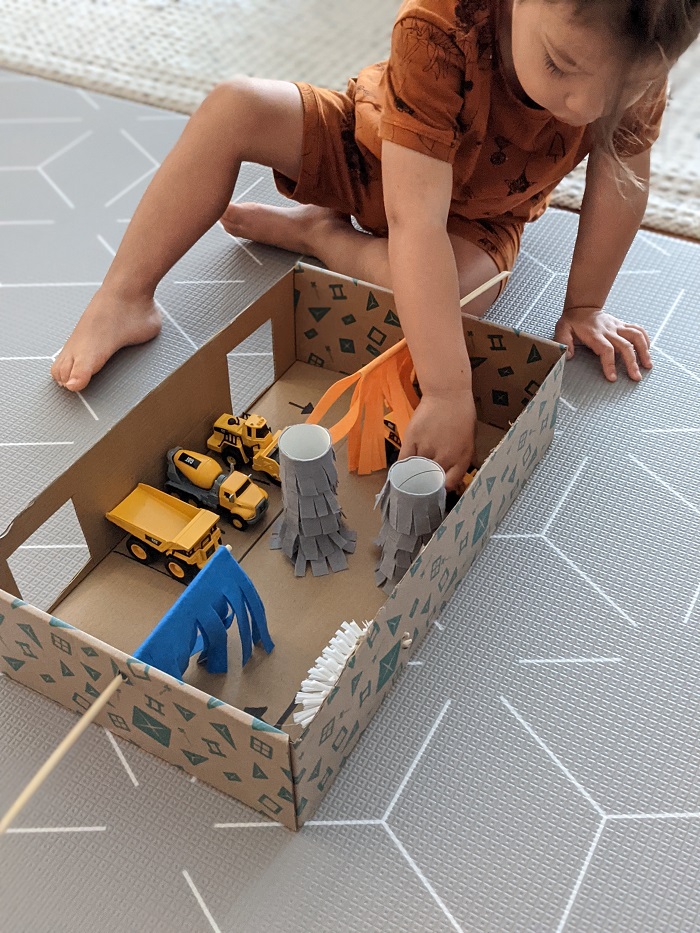
4. A marble or rice run
We made a few different versions of this one. It’s super simple. Cut some toilet rolls in half and glue them to the back of the wall of a tall box and you’re done. You can use marbles, pom poms or even rice or chickpeas to complete the track. We left ours ‘natural’ at first, and then ended up painting it into a space theme.

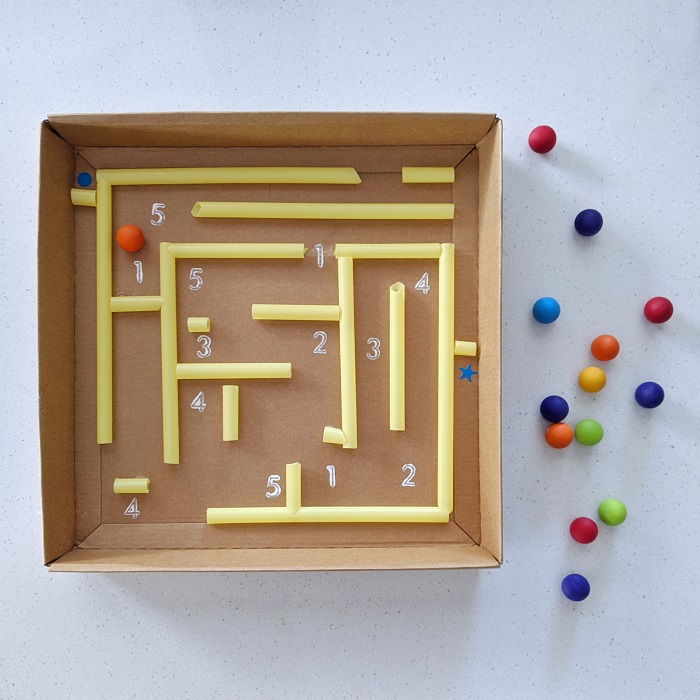
5. A marble maze
This one has been a fave for ages. Use the lid of a shoebox to keep it easy. Or cut out any shape from a large piece of cardboard. Glue in straws, or strips of cardboard with a hot glue gun. Mark a beginning point and a finish. To make it more challenging you can add numbers or letters and add an extra challenge, such as ‘ You can only use the letters of your name, or ‘ you can only use 6 points’.
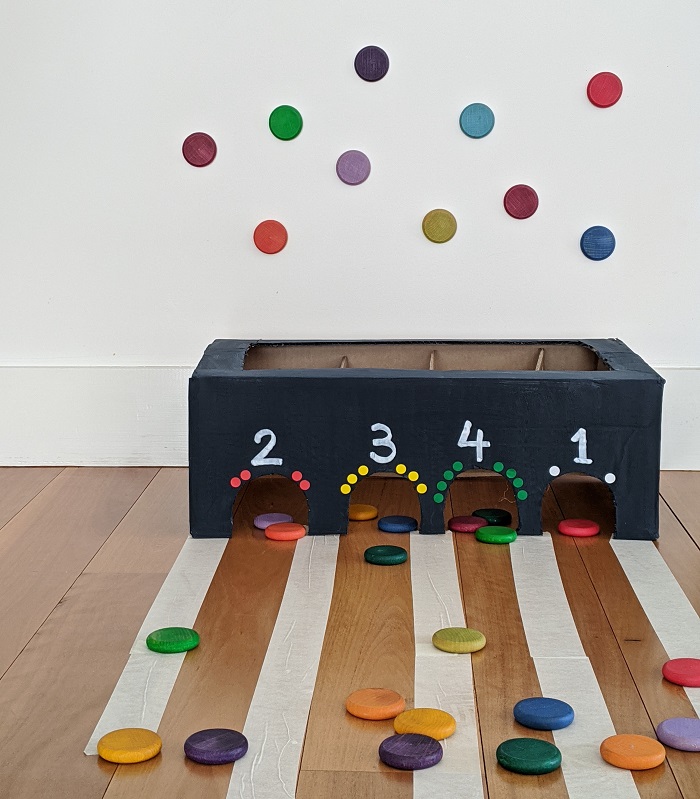
6. A traditional Dutch game called ‘sjoelen’
For this one you need to create 4 holes in a box. The first hole is 2 points, then 3, 4 and 1. Each player gets 3 turns per set to slide as many ‘pucks’ (or counters or marbles) through the gate bar as possible, the goal being to tally the highest score. Simple enough, right? Here’s the kicker; whenever a player fills each slot in a given set, their points count for double. So, placing a single disc in each slot means you get 20 points for your set instead of 10.
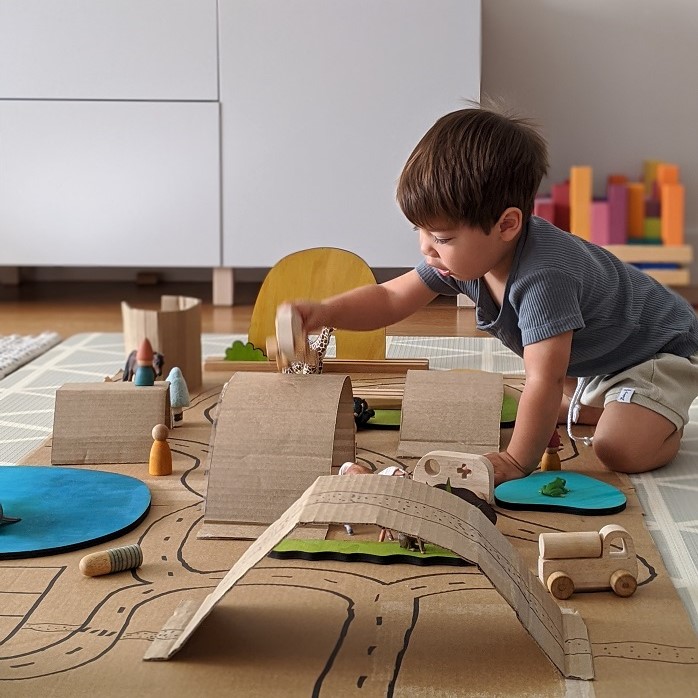
7. A town of every toddlers’ dreams
This one seriously takes about 3 minutes to set up. Flatten a box. Draw a road on it. Glue some left over pieces of cardboard onto it. Add some cars and perhaps the houses from #3 and its playtime!!Obviously, you can spice it up by adding rivers, other buildings like hospitals or fire stations, or train tracks etc. But I find that this is usually very loved in its very simple form.
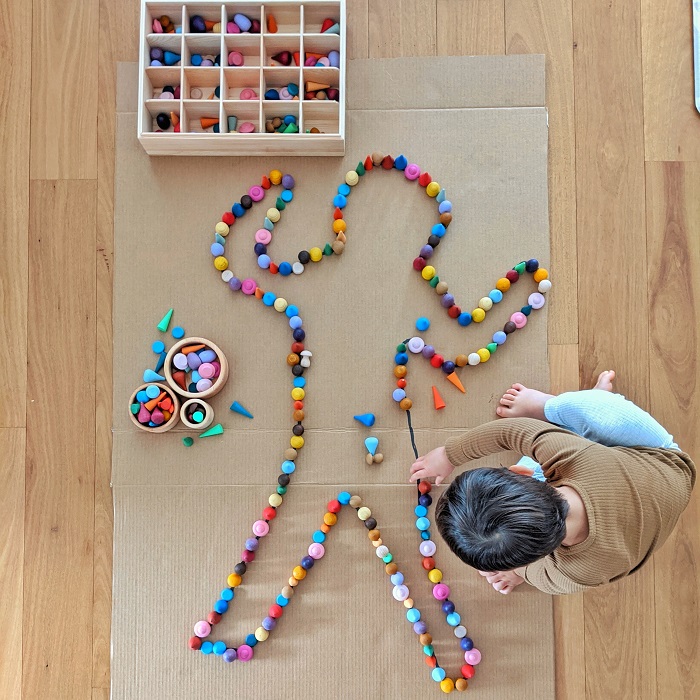
8. A life-sized self portrait
We used the same box as the town of #7 for this – just the other side. We traced each other and then decorated ‘ourselves’. You can be as creative as you want. You can paint the whole thing or just the outline. Or don’t use paint at all, but use loose parts, counters, recycling items or craft materials to decorate instead.
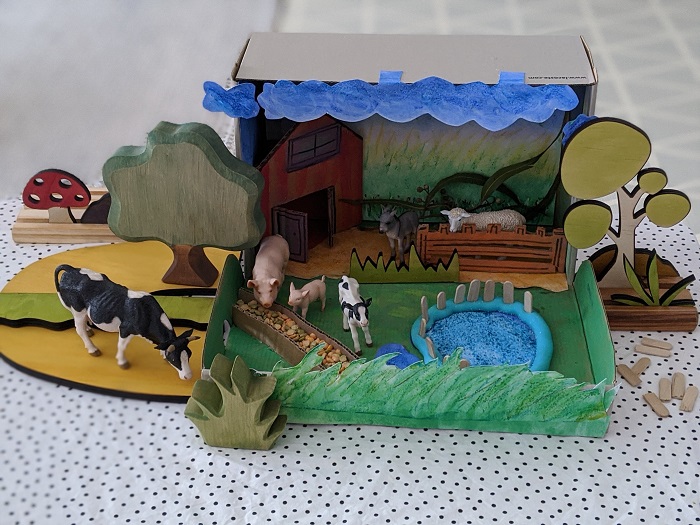
9. A diorama for your child’s animals
Remember these for school projects?! We used a trusty shoebox of course. We first painted the inside to represent the grassy area and a simple background. We then added extra bits and pieces such as a pond, gate and even a little barn. This one was farm themed, but it wouldn’t be difficult to do African animals or ocean animals etc. instead.
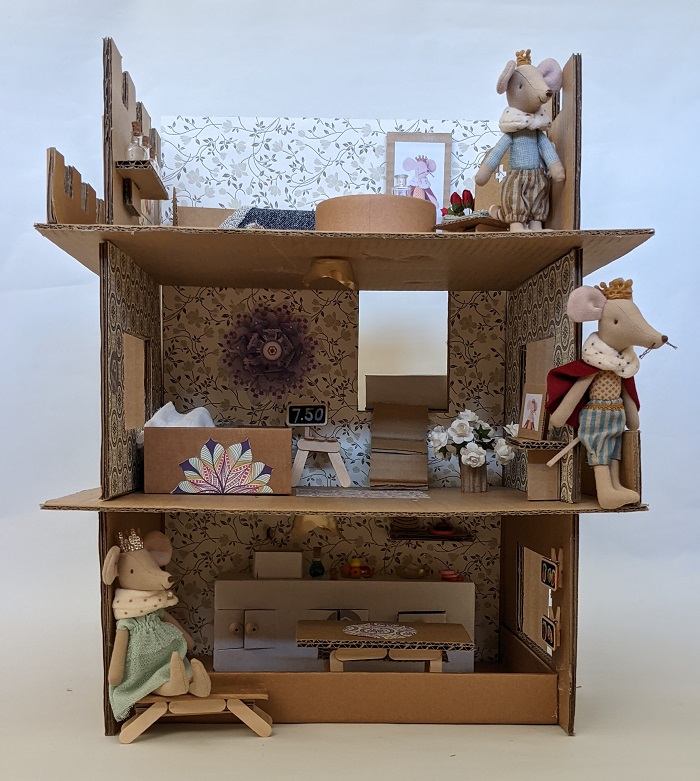
10. A dollshouse for all the people and animals in your home
And if you find all these products a little too easy, why not go all out and create a dollhouse for your child’s fave figurines? My son loves his little Maileg mice, and we went all out one school holidays and gave them their own castle! We only used stuff lying around the house – recycling is great for this kind of thing – things like milk bottle lids, bread tags, anything! If you look closely you can see that the lamp shades are made of Ferrero Rocher packaging. I just had.to. eat that chocolate!
Lisa is a qualified teacher working at a school for students with additional needs. She is the mumma of a wonderful and wild toddler. She loves day trips, weekends away and good coffee. She enjoys setting up open-ended educational play activities. She has a ginormous drawer full of bits and pieces that ‘will come in handy one day’, which she uses to set up simple and fun toddler craft activities. You can follow her son and their adventures on Instagram at life.with.moon.and.co